My Flight Operations professor would like his students to create procedural flow diagrams in Visio 2010 using comment boxes with both solid lines and dashed connectors. This turns out to be easier said than done because the latest version of Visio has line style “effects” that globally override any dashed connectors. We can create the comment boxes easily, but how do we get them to automatically show up with specific connector formats?
The answer is to create a custom shape using a connector that is not styled.
My step-by-step instructions will guide you through a procedure to achieve that outcome. I am providing screen shots as a visual aid, though a corresponding flow chart can be provided as needed.
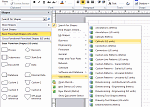
Step 1: Open the Callouts Stencil
As illustrated above, you will begin in a new Visio flow chart file. Near the top of the Shapes panel is a button labeled More Shapes. Click that, then click Visio Extras, and open the file titled Callouts (US units).
Step 2: Copy the Annotation Shape to a New File
When the Callouts shapes are displayed, you should see the one you want to use named Annotation. Right click on Annotation and choose Add to My Shapes. Then click Add To New Stencil.
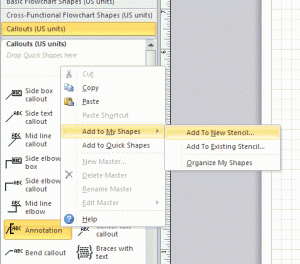
This creates a new file, called a stencil, with a copy of the original shape. I named my file Dashed Shapes for clarity. By default, this will get saved under My Documents in a folder named My Shapes.
Step 3: Open the New Stencil for Editing
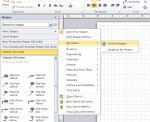
Your new stencil is not displayed automatically after creating it. So, go back to the More Shapes button, and this time click on My Shapes. You should see your new stencil listed there, and you should click on it now.
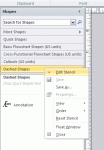
Before proceeding, your stencil needs to be taken out of read-only mode. To do this, right-click on the title of the newly opened stencil and select Edit Stencil.
Step 4: Open the Shape
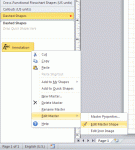
Now that you have a fresh, editable copy of the Annotation shape, right-click on it and select Edit Master, then Edit Master Shape.
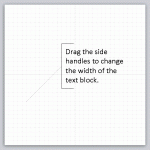
This opens the shape in a view that looks just like any other drawing. Notice that the connector on the left side of the shape actually does not have a solid line by default. In the next step, the shape will be fixed so that what you see here will be what you get in your diagrams.
Step 5: Edit the Shape
Click once anywhere on the shape to select it.
Now move your mouse cursor to the connector line on the left side of the shape and click on it once. This should change the selection slightly so that only the connector is selected and not the text box. The handle on the right side of the text box should disappear when this is done correctly.
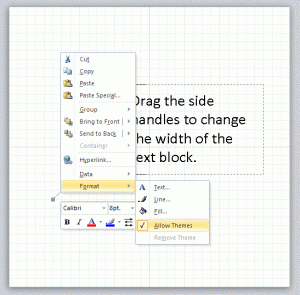
With the connector selected, right-click on it, click Format, and then disable the property labeled Allow Themes. You want to get rid of the check mark on the left side of that property.
In that same menu, click on Line to bring up the line format options. By default, this shape has line type 3, and I changed mine to type 2 for a dashed line effect.
Before closing the line format options, consider changing the connector’s line weight. The default is something like 0.26 pt. Because the theme effects will no longer be applied to this line, you will want to choose a line weight appropriate for your final product. I chose 1.0 pt.
Step 6: Using the Shape
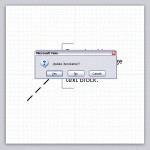
To save your work, simply close the shape drawing window. It will ask you to “Update ‘Annotation’?” Just click Yes.
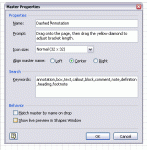
To finish up, consider giving your shape a new name. Right click on it in the Shapes panel, select Edit Master, and then Master Properties. I named mine Dashed Annotation and checked the box labeled “Show live preview in Shapes Window.”
Now your shape can be dragged into any diagram and it will always have a dashed connector.
Feel free to leave a comment with any questions or praise about this tutorial.
Thanks!